I am excited to teach our kids about food and how it grows from a tiny seed into something that we eat. I want them to know where our food comes from and appreciate the process. My parents and maternal grandparents always had a garden, and I have such fond memories of helping care for the fruits and vegetable plants. My fondest memories though were picking the ripe fruits and vegetables and then, of course, eating them! How rewarding it was to watch the plants grow, and then produce something that I could eat. I think watching the fruits or veggies grow, and appreciating how long it took to produce them made them taste even better.
So, this year we are diving in a little deeper. We began our journey by doing a lot of research into how to create some raised beds in the most economical way possible. We considered using some old fence pickets that we had, but instead decided to wait until we saw what was available at our local Lowe's (and also see how much it would cost us).
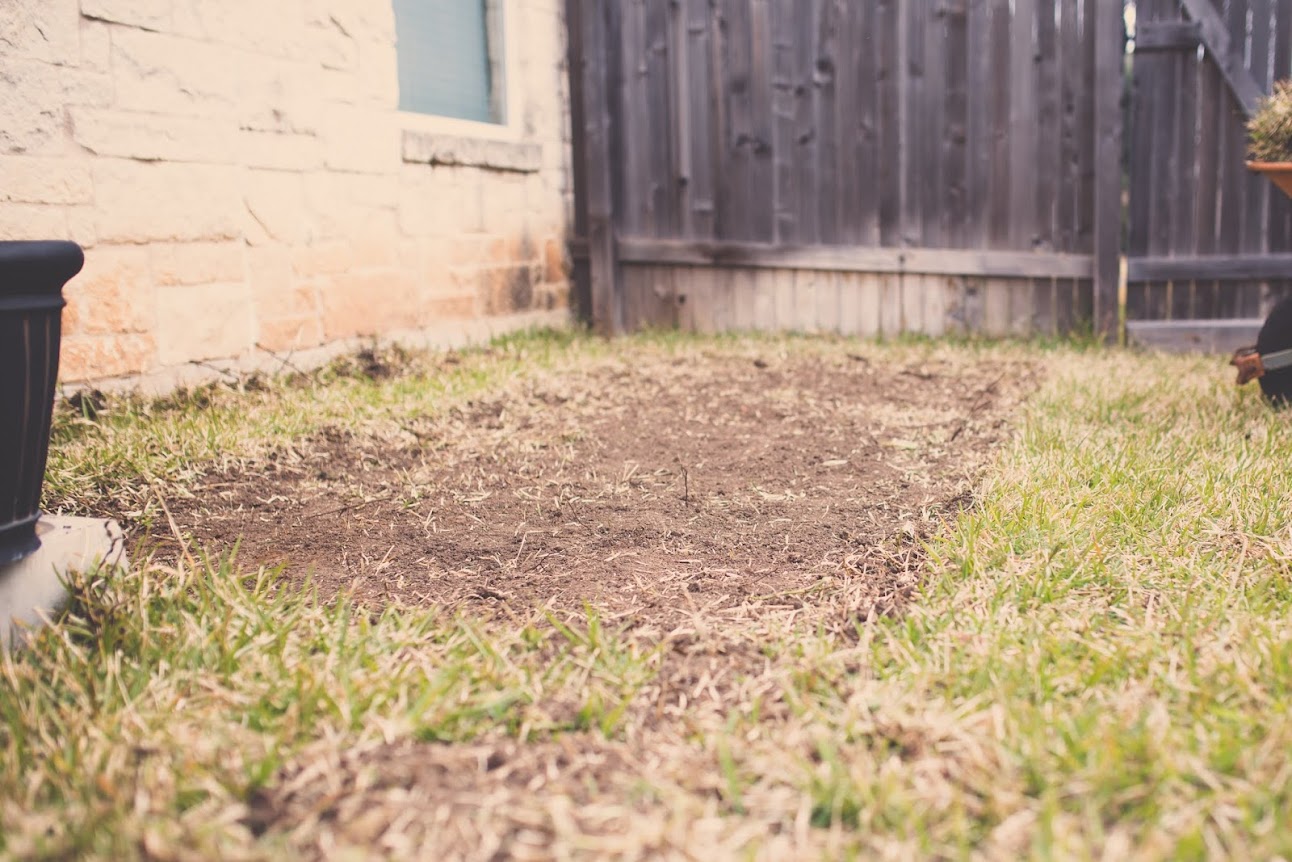
But, before we visited Lowe's for materials, we had to plan everything out on paper and then prepare the space. After measuring our space, we decided we would build two garden beds, each 4 feet x 5 feet in size. So, my handy husband removed enough sod in the area where the two bed would be placed, allowing 18 inches of walking space between each of the bed, as well as some space around each of the bed.
It was a lot of work. Drew reminded me that this was my Valentine's gift. Ha! I will take it--a pretty awesome gift if you ask me (and a gift that just keeps on giving).
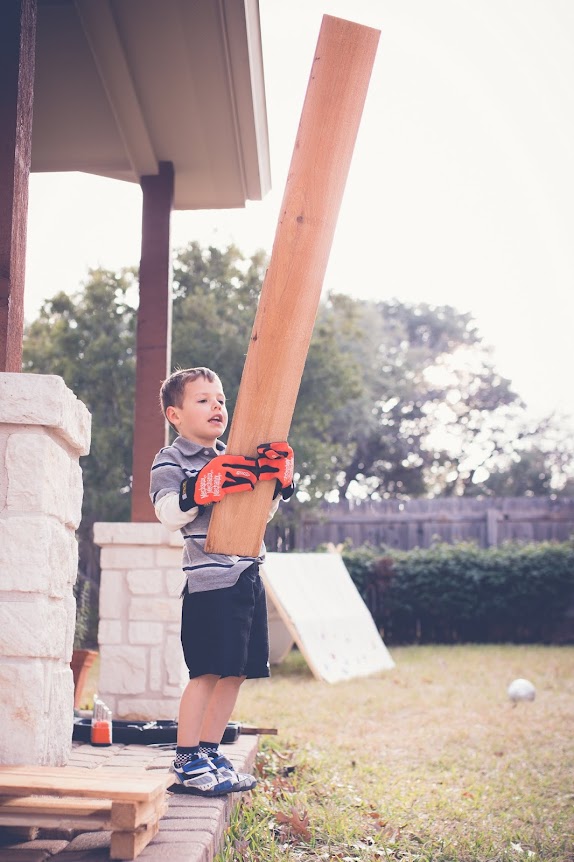
When we got home with the materials, Drew had a little helper to assist in the garden bed assembly.
 |
| We ended up using a couple of extra fence pickets from home for supports along the sides. |
Fast forward a couple hours, and here is the finished product, in place:
I think that is quite a bit of gardening space and I am excited about what all we can grow here. Luke and Abbey have been "pretend gardening" the past couple of days, and it is adorable! Luke gives her instructions on what to do and she does it. Here, they are "preparing the dirt" for our plants. Our next "real" step is to put down some cardboard at the bottom of the boxes to help prevent weeds, get some really good quality soil and compost, and then plant our seedlings! I am so excited! We are also going to try to figure out how to automatically irrigate the boxes. I almost forgot though--before all that, we are going to install some pvc pipe on the sides to allow us to put some covers on the beds for freezes or to protect from little pests (like birds or small animals)--see photos below.
| photo credit: Sunset.com |
We are also planning on planting some chard and lettuces in our yard where we currently just have bare mulch. Chard is beautiful and really can be grown year-round here.
| So pretty (and delicious)! |
I really enjoyed my Valentine's weekend with my wonderful hubby. I really did hit the jackpot when I married him!
We had so much fun working on this project this weekend. Plus, it felt so good to be outside and enjoy the absolutely beautiful weather that God gave to us. I love that Drew and I enjoy the same things. I'm not trying to be cheesy, but this really is a match made in heaven! I just love him so much!


No comments:
Post a Comment